A simple and healthy green bean mooncake tutorial to learn

Give Luo Luo a thumbs up-I like this mung bean mooncake
Name: Mung bean mooncake
Practice: Bake
Taste: refreshing
Production time: 20 minutes
Number of people: 8
Difficulty: Basic
Ingredients:
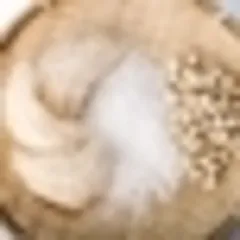
flour 200g, 722 kcal

mung bean 50g, 165 kcal
Excipients:

1 teaspoon of peanut oil 4.5g, 40 calories of

baking soda 1 teaspoon 5g, 0 calories of

sugar 2 teaspoons 3g, 12 calories of

egg a little egg white
Assistive tools:

mooncake mold
Total calories: 117 calories-More calories check check the calories your body needs
Mung bean mooncake-making steps
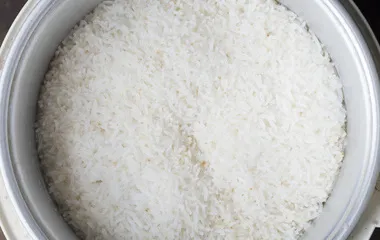
1 Boiling green beans
Soak green beans for more than 4 hours, and then boil them until they are done. It is best to put as little water when cooking and make it as thick as possible. After cooking, remove and cool, put it in a bag and crush it by hand or directly crush it with a spoon, depending on your method. If you don't have it yet, you can fry it in the pan. Finally, add sugar according to your personal taste.

2 dough
Prepare appropriate amount of sugar water, add a few drops of peanut oil and a little baking soda, and stir well. Then add the flour and mix into a dough.
3 Prepare mooncake groups
The dough is awakened for about 30 minutes, kneaded into long strips, and made into small balls. The size of the balls is within half the size of the mooncake.
4 stuffing
The crushed mung beans are also kneaded into balls, preferably more focused than the flour, so that the skin is thin and delicious. If you like to eat egg yolk mooncakes, you can wrap egg yolk in the mung bean filling. Press the mooncake dough flat, wrap the mung bean filling into the cake skin, gently push it up with your thumb and index finger until it is completely integrated (commonly known as the tiger's mouth bun), and wrap the filling.

5 Pressing die
Put the wrapped mooncake ball into the mold and press down. Isn't it beautiful? You can choose a mold according to your own preferences.
6 Baked mooncakes
Put it on the oven, just don't need to brush oil, preheat it first to about 180 degrees. When roasting, depending on the thickness of the mooncake skin, the thinner the roasting time will be shorter.

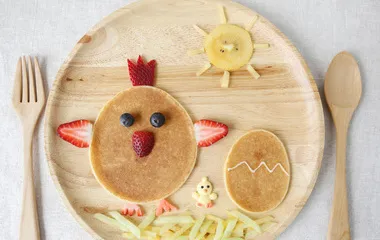
7 completes
About five to six minutes, wait until the mooncakes are baked until they are in shape, brush with egg liquid before roasting. The main purpose of brushing egg liquid is to improve the brightness and color of mooncakes. Otherwise, the mooncakes will be white and dry, and will not look good. If you feel that you are not satisfied with the color of the mooncake, you can continue to brush until you are satisfied.
Show delicious food to win prizes, learn more and share it on my Weibo
This issue of nutrition consultant

Weight loss index: